
“A great presentation gives smart ideas an advantage.” – Nancy Duarte
Presentations are a fantastic way for business owners to introduce themselves to their employees or clientele; for teachers, they’re a tremendous approach to assist pupils to understand any subject matter. For this purpose, Google Workspace has introduced a fantastic free tool called Google Slides to create straightforward but attractive presentations. Even a newbie can do this by following the five steps below with just some basic editing.
Let’s explore each of these straightforward stages individually:
1. To access Google Slides’ main page, perform a search.
You can access its homepage by typing Google Slides into a search engine and pressing Enter to go to the next page. Results will appear, and you may select the link in Screen 2 to go to the page.
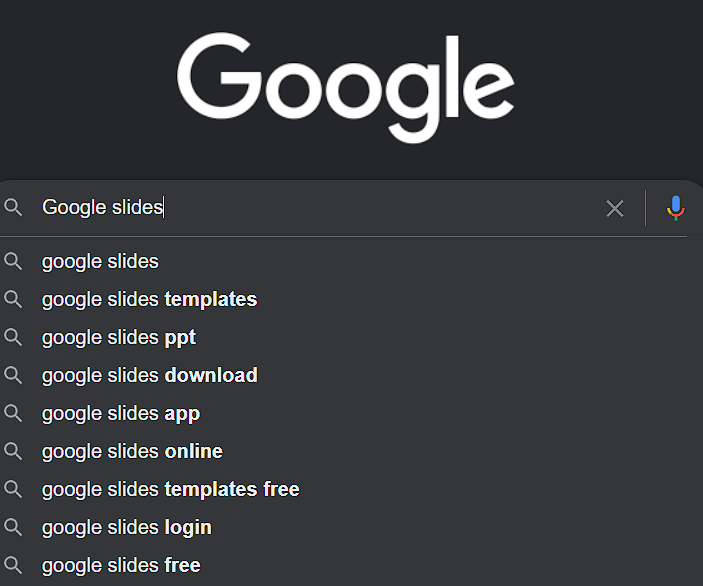 Screen 1: Search on the web
 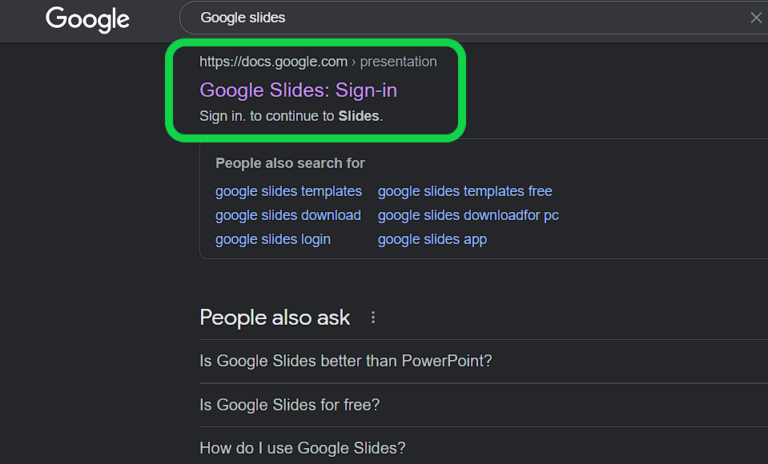 Screen 2: Choosing a link
You can also use the direct link slides.google.com to access the slides page and sign in using your Google account.
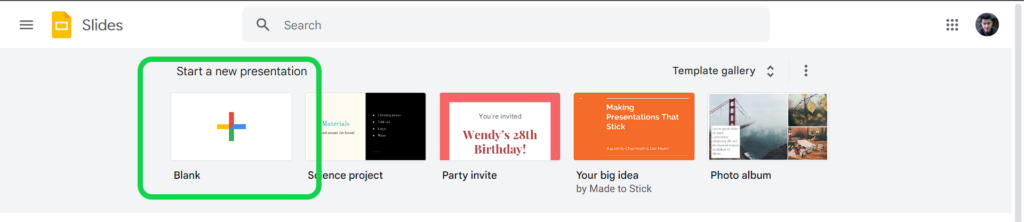 Screen 3: Blank slide
You must select a blank slide to begin a new presentation. After doing so, you will be sent to a new screen with your workspace, where you may create your presentation. We’ll look at this screen in more detail in the steps that follow.
2. Decide on a presentation theme.
When you choose a theme, your presentation will be organized with backdrop colors, an area for titles and headings, an image room, and more. It is simple to get started and enhance the presentations without exerting additional work; to select a theme, see screen 4.
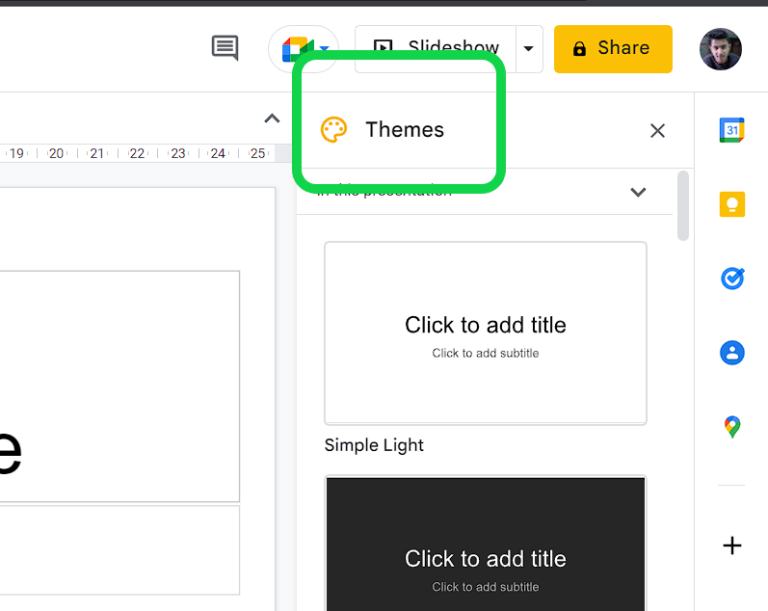 Screen 4: Themes
3. Put a title on the first slide of your presentation.
One of the most crucial components is the title, which should be no more than three words long and be followed by a brief one-line entry. The title highlights the subject of discussion and summarizes nearly half of the presentation.
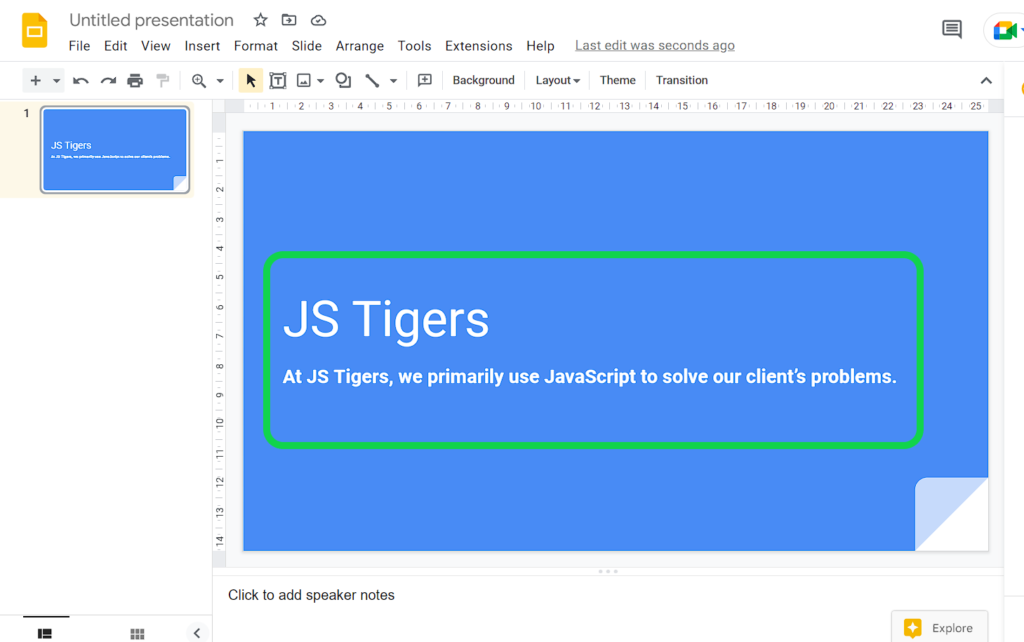 Screen 5: Title and Introduction
4. Add slides to your presentation, then enter your text and image content.
For adding a new slide
The slide will emerge when you click the “+” symbol as seen on Screen 6; you can give it a title and fill it with content there.
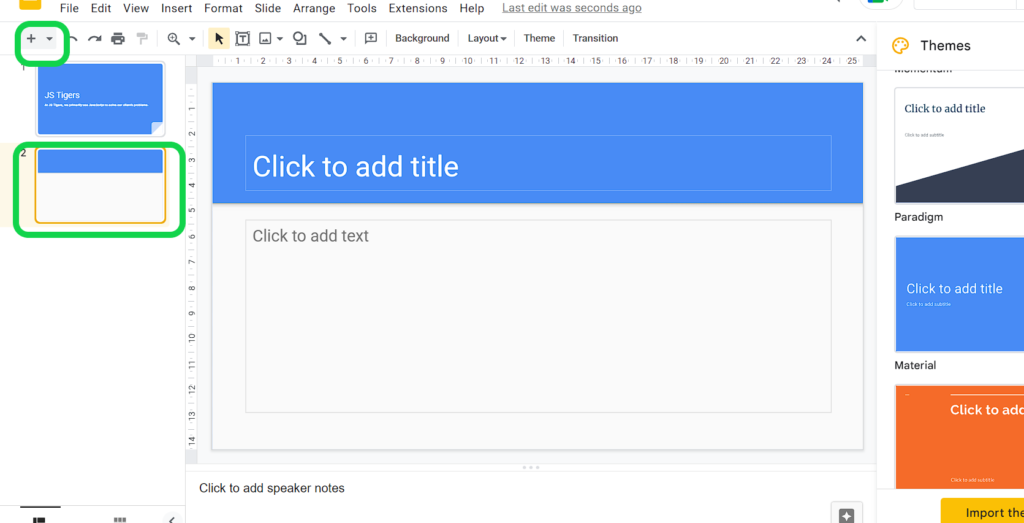 Screen 6: for a new slide
Add Images and text information
When uploading an image, you must click the “insert” option, pick the image, and upload it. The image will then display on the screen, where you can edit it to fit your needs. Refer to Screen 7.
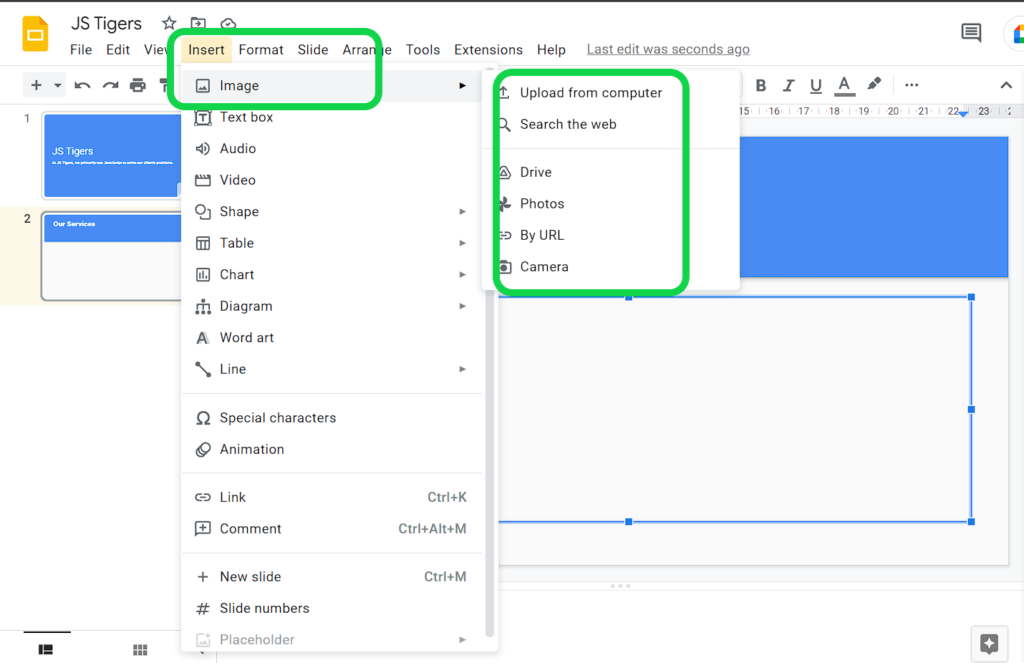 Screen 7: Insert images
To make it an effective information-based presentation, we can now add some details to each slide individually. Some minor editing will be needed, such as altering text boxes and changing text colors, which you can accomplish by choosing the text and editing it with the tools provided in the toolbar.
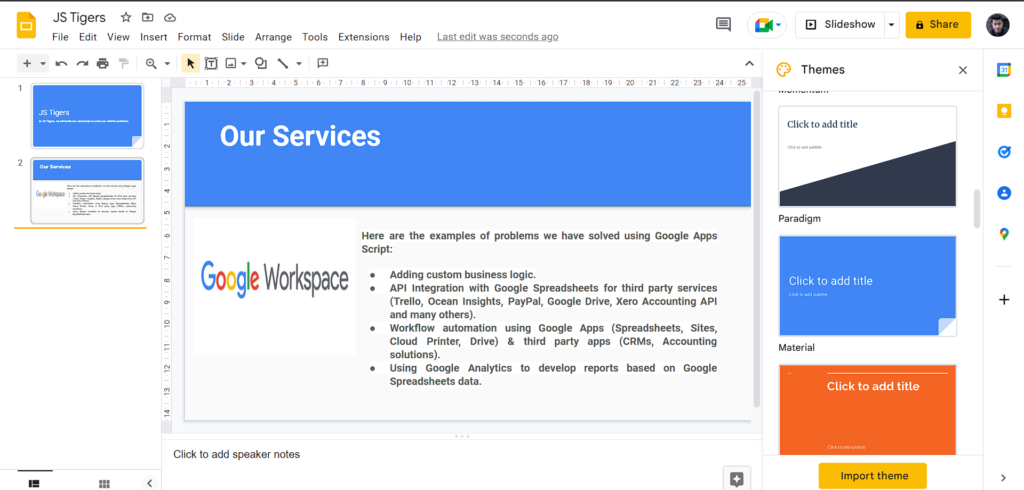 Screen 8: Added data to slide
5. Present a slide display to the audience
Our presentation is finished, so it’s time to give it one last polish and say thank you. By choosing Slideshow from the “view” menu, you may see how the slide will seem when it is presented. Verify screen 9.
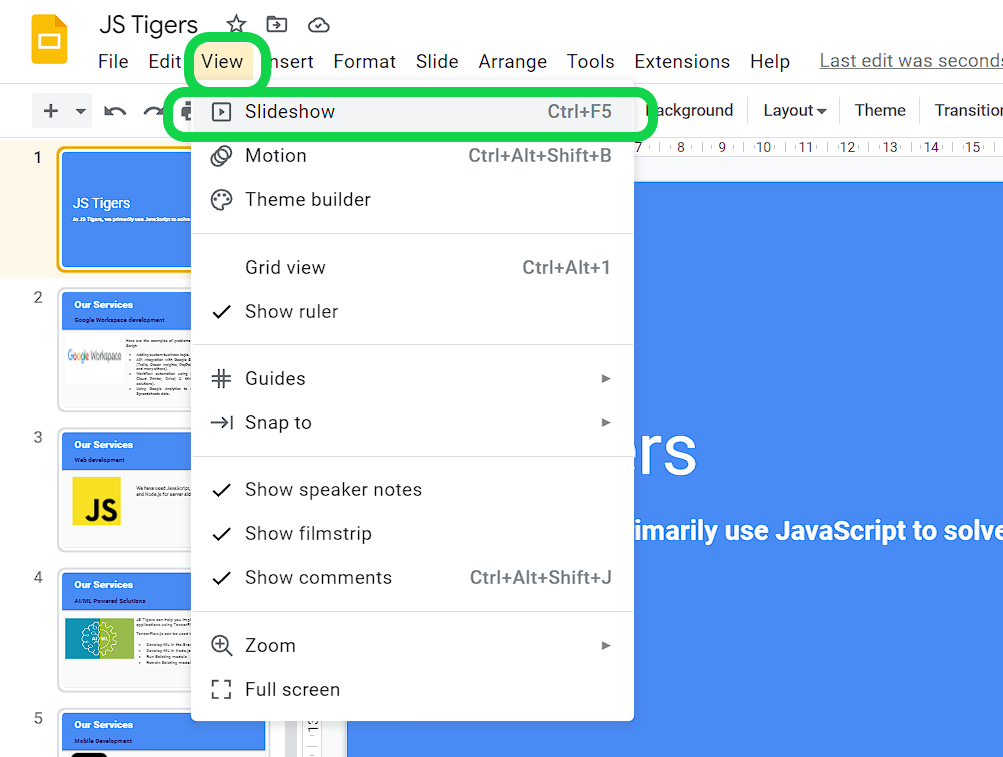 Screen 9: Slideshow
Finally, we finished creating our presentation. It was simple, and we hope it was enjoyable for you. You can learn more new things by continuing to explore Google Slides, which has a wealth of capabilities that, given enough time, one can investigate and create some very spectacular presentations.
Tags:
- #Google Slides,
- #Google Workspace