
A company’s sales invoice acts as a direct proposal to purchase goods or services from the company’s owners or sales managers. For this, Zoho Invoice is a free web application that produces invoices without charging any fees.
Here are the steps for creating an invoice with Zoho Invoice:
1. Setup organization details
Start by entering invoice.zoho.com into your browser, creating an account with your email address, and adding organization details as in screenshot 1. This information will appear on the invoice
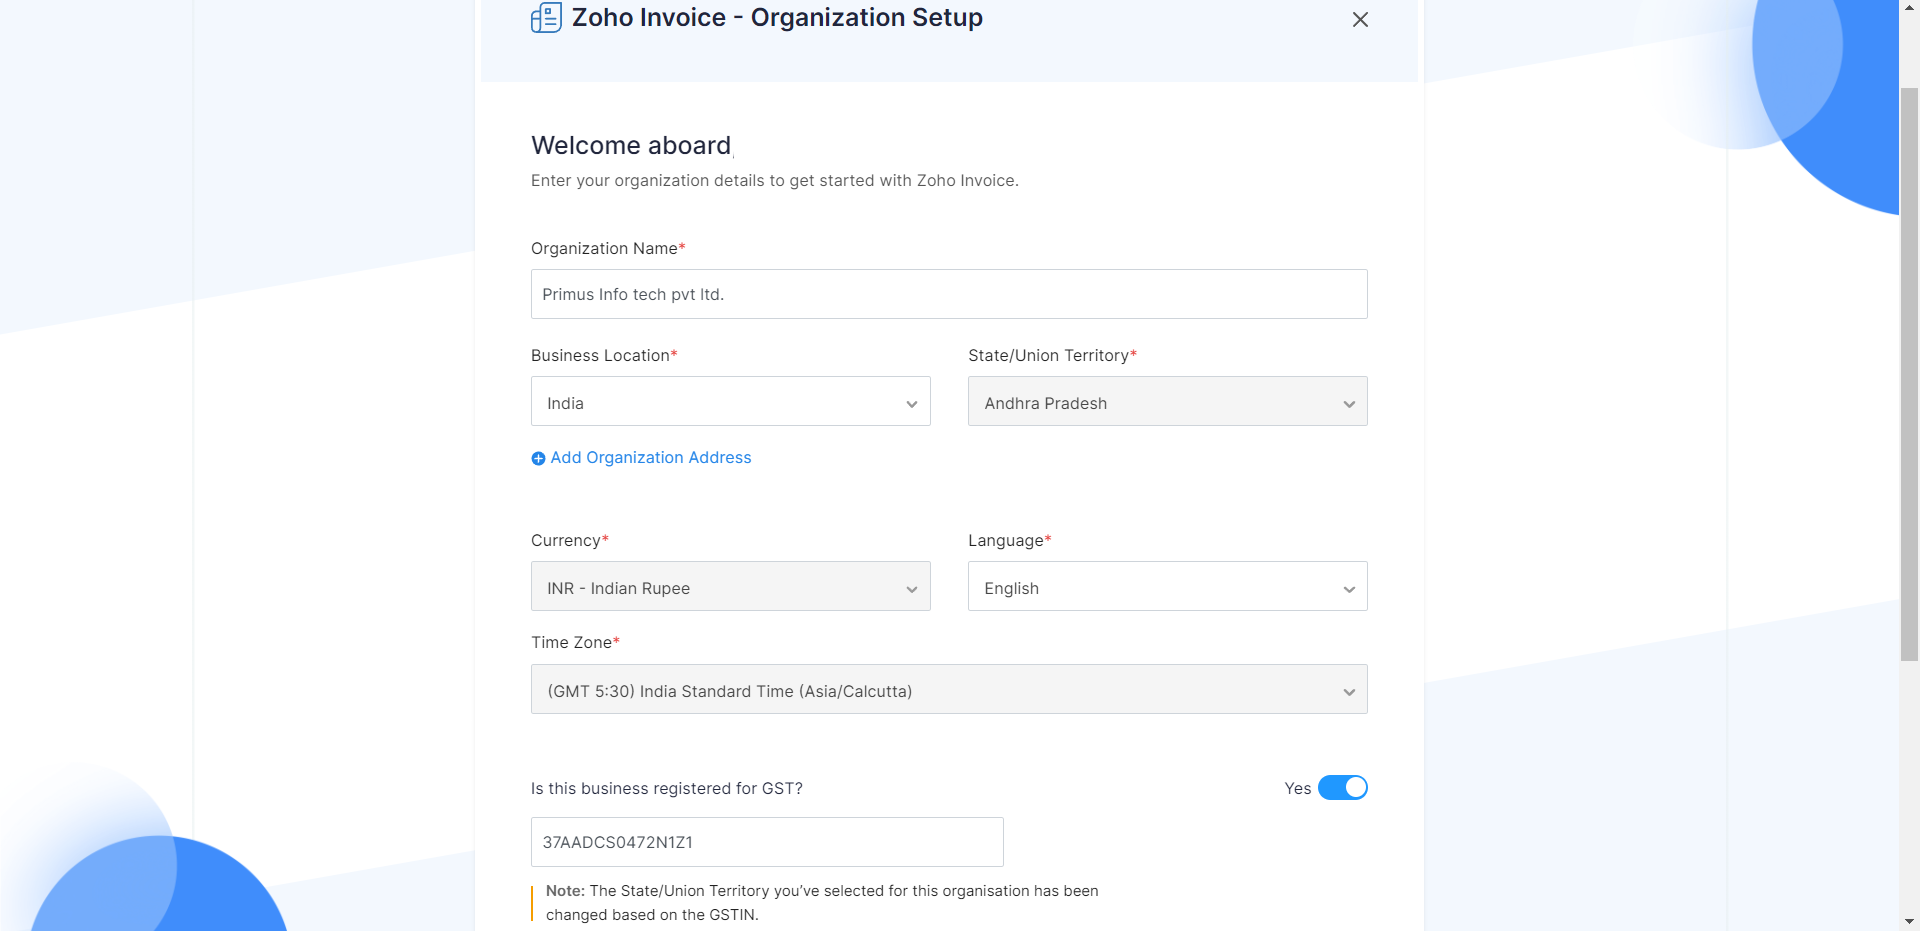 Screenshot 1: Organization detail
2. Add business type and payment gateway
As seen in screenshot 2, enter information about your company’s industry and business type in the dashboard.
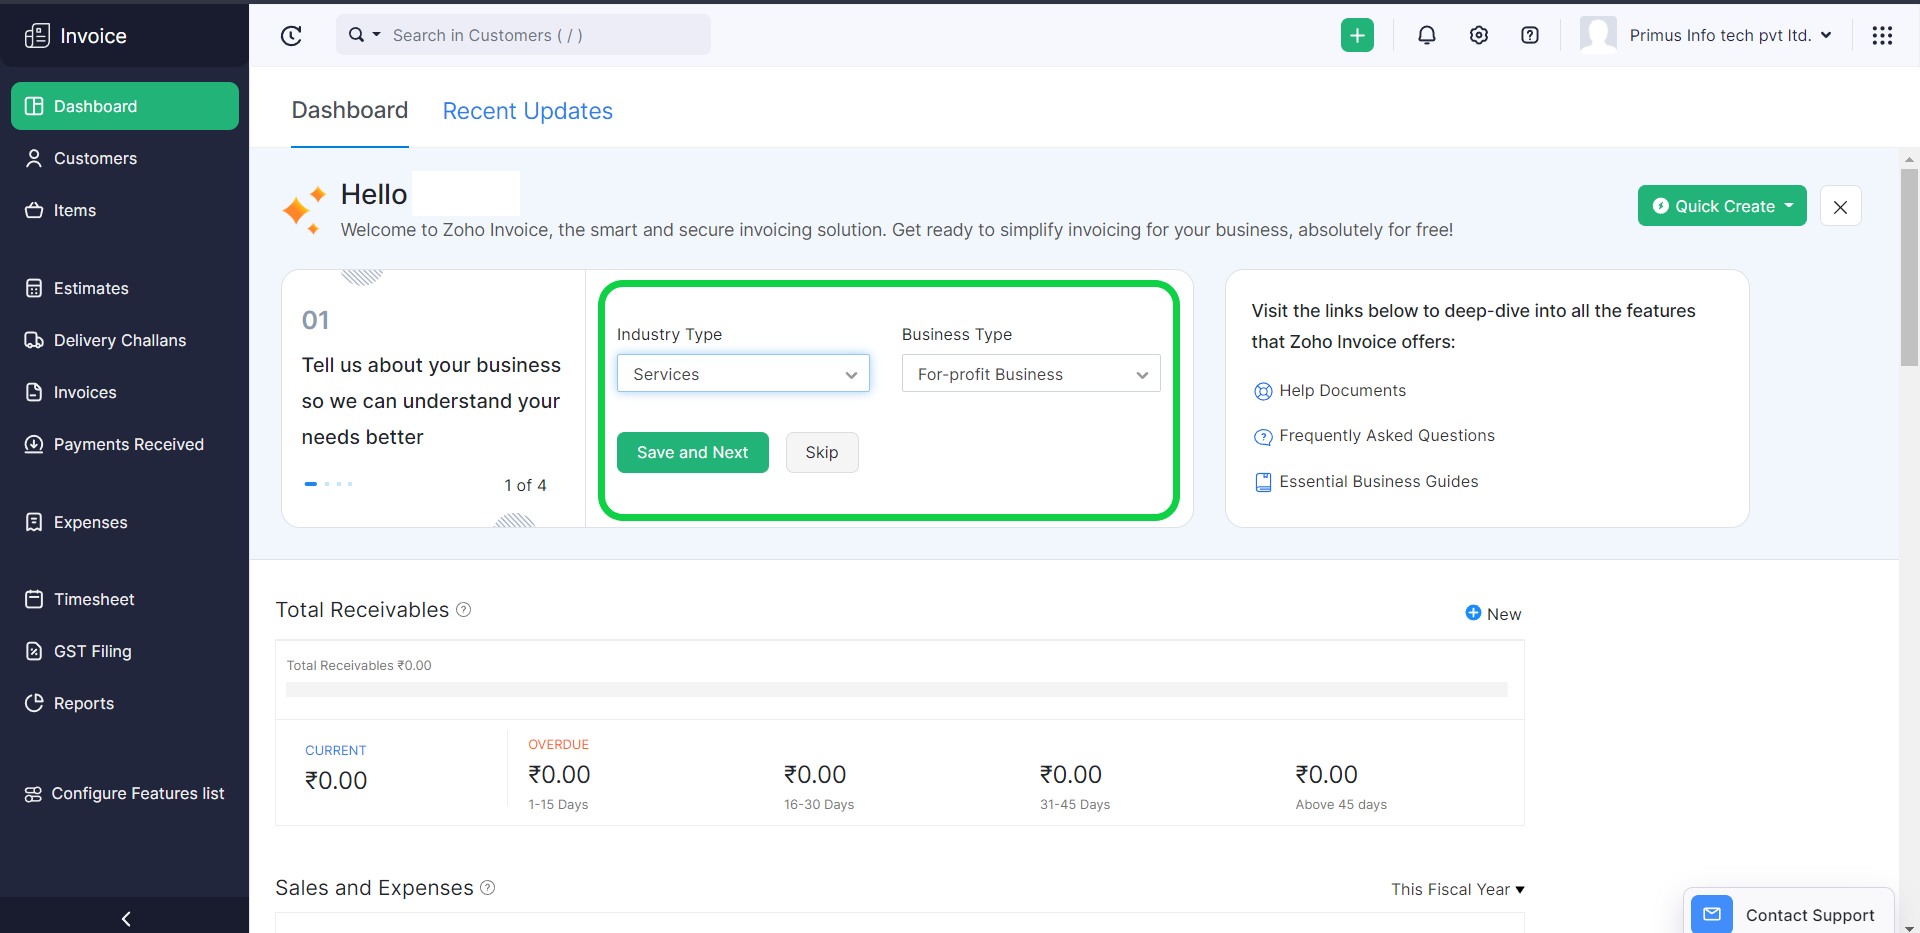 Screenshot 2: Business details
Create a payment gateway configuration for the invoice to allow the invoice payer to choose their preferred payment gateway.
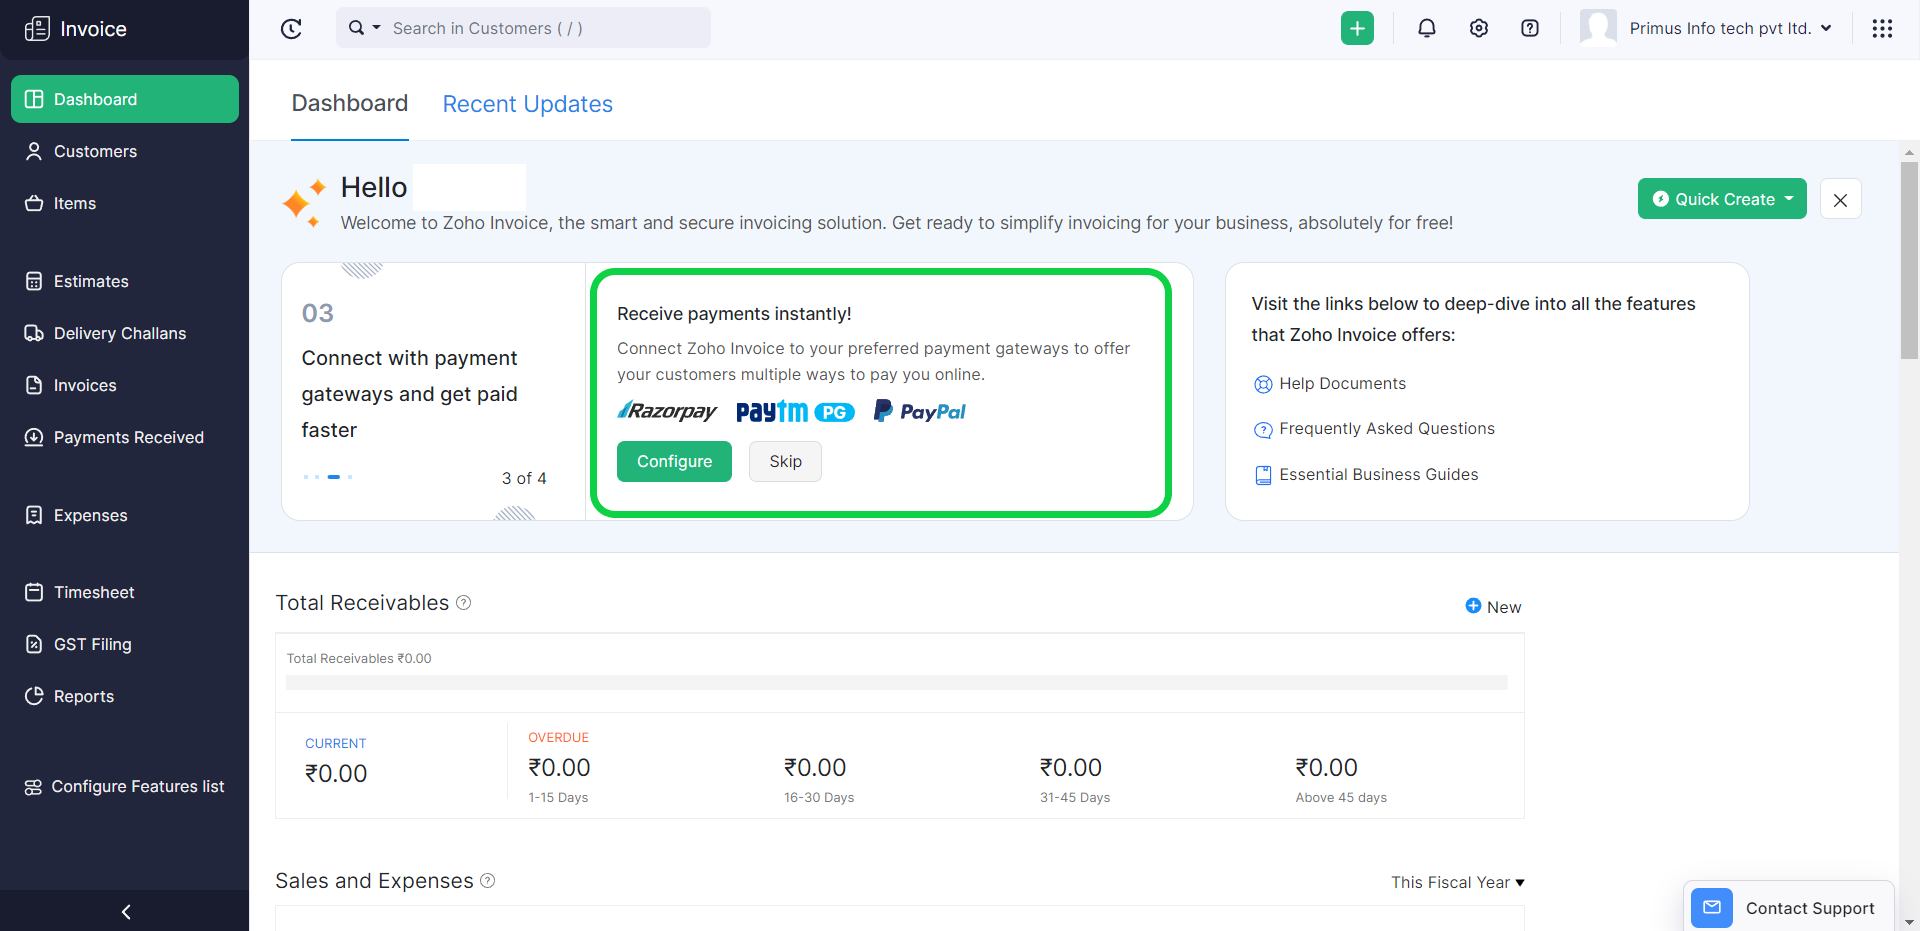 Screenshot 3: Payment gateway
3. Create a template and add logo
To make a professional invoice, choose the customize option in the dashboard in screenshot 4 and edit the standard templates as shown in screenshot 5.
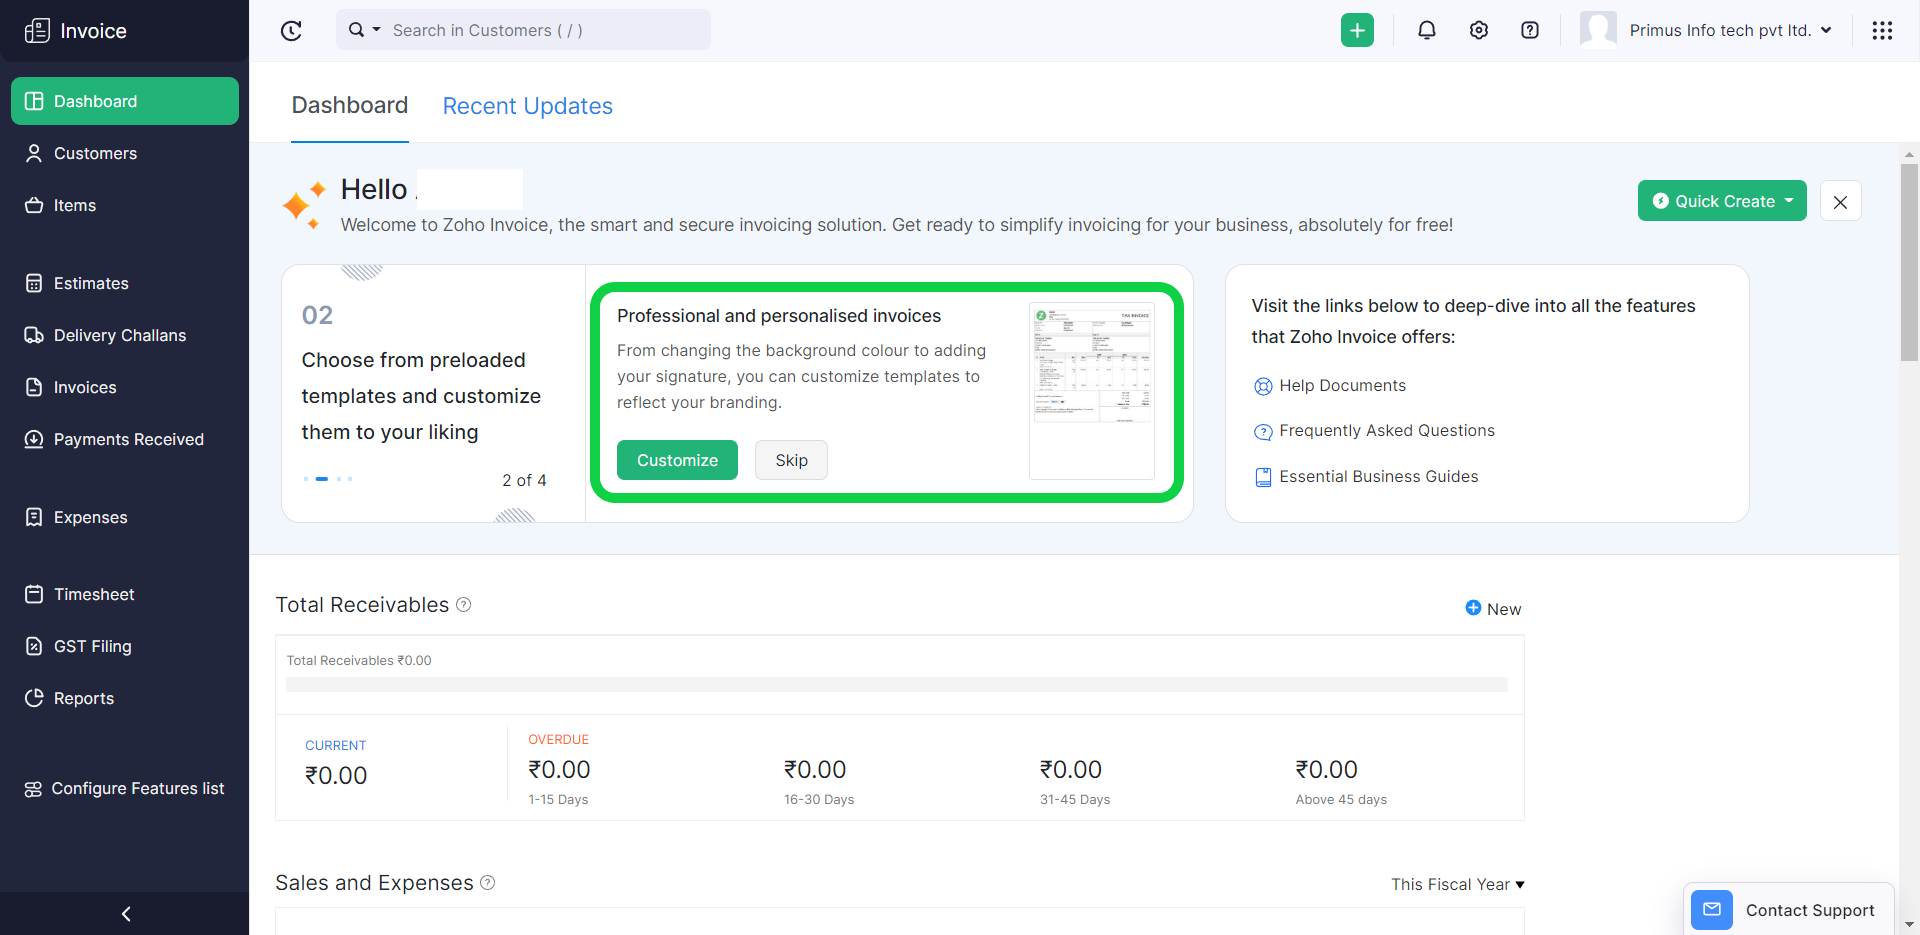 Screenshot 4: Customize to get templates
You can add your company’s logo to the design by selecting the option to upload one; see screenshot 5 for specifics.
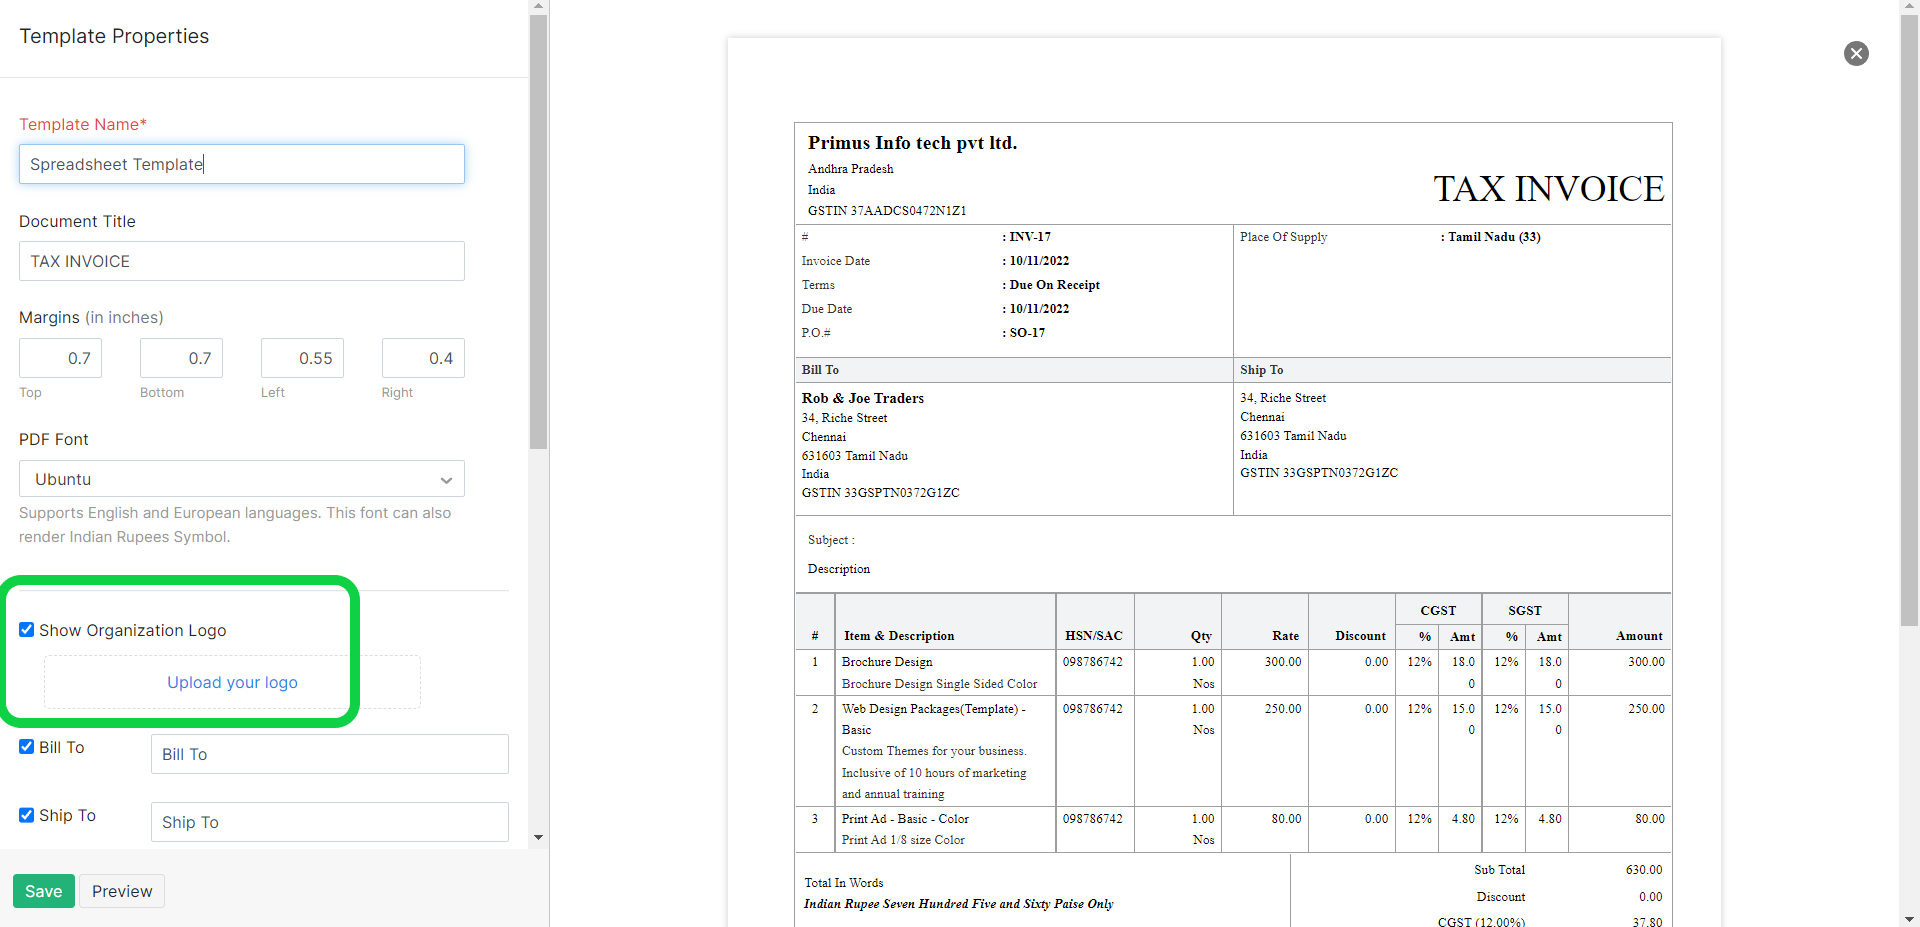 Screenshot 5: Upload a logo
Finally, a logo will be included in the invoice to give it an official appearance.
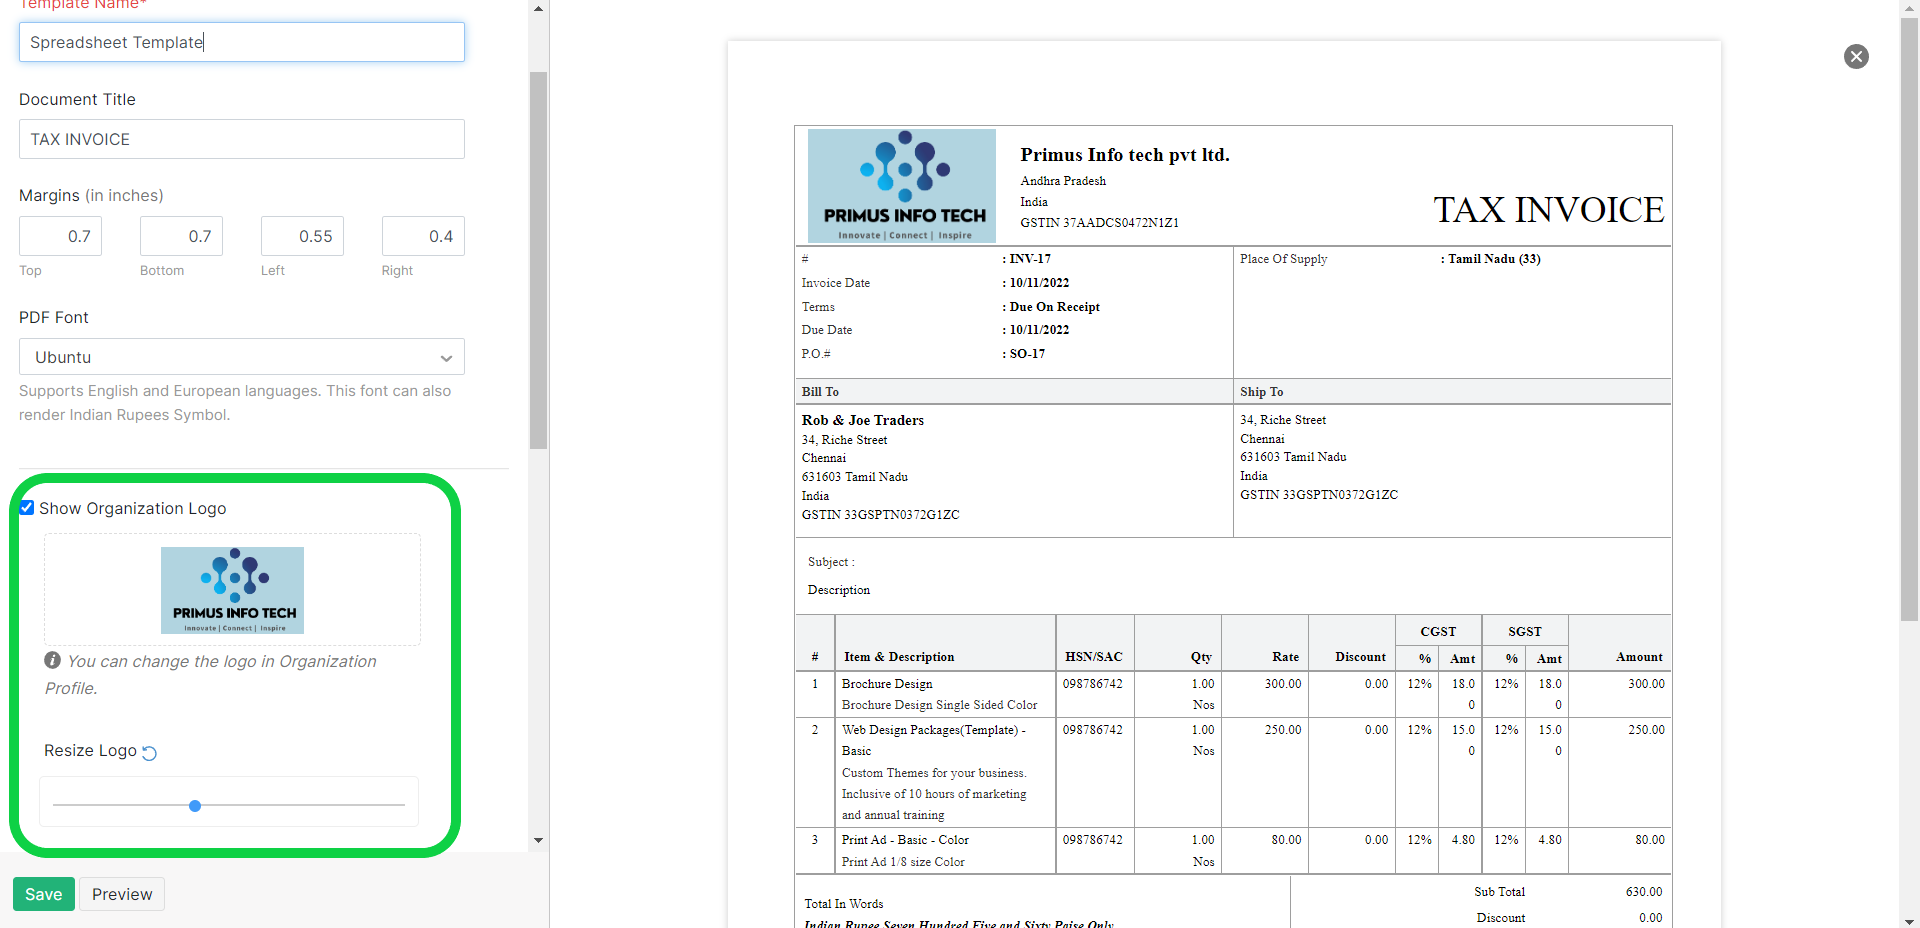 Screenshot 6: Final customized template
4. Add the client’s information to a new invoice
Now is the time to receive payment. To get started, choose the Invoices option from the menu, and then click New Invoice to proceed.
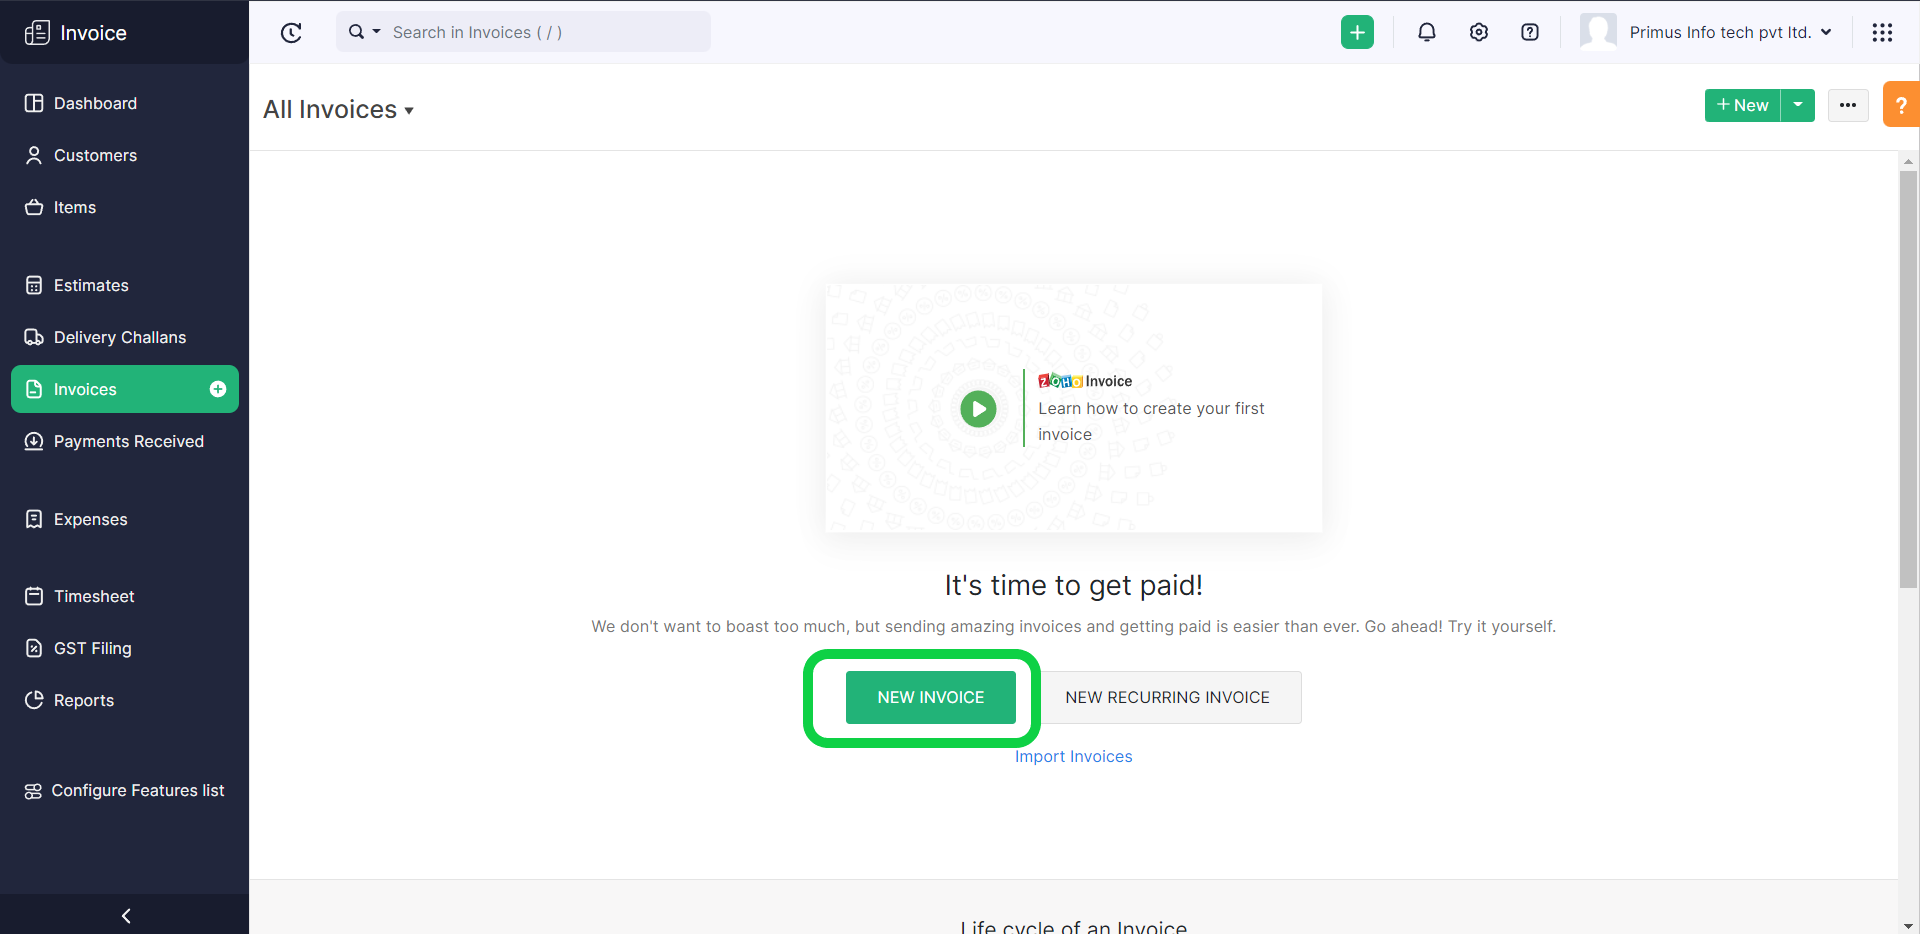 Screenshot 7: Select new invoice
If the customer is a new one, choose the customer name and create a new one using the company name, billing address, and shipping address of the new client.
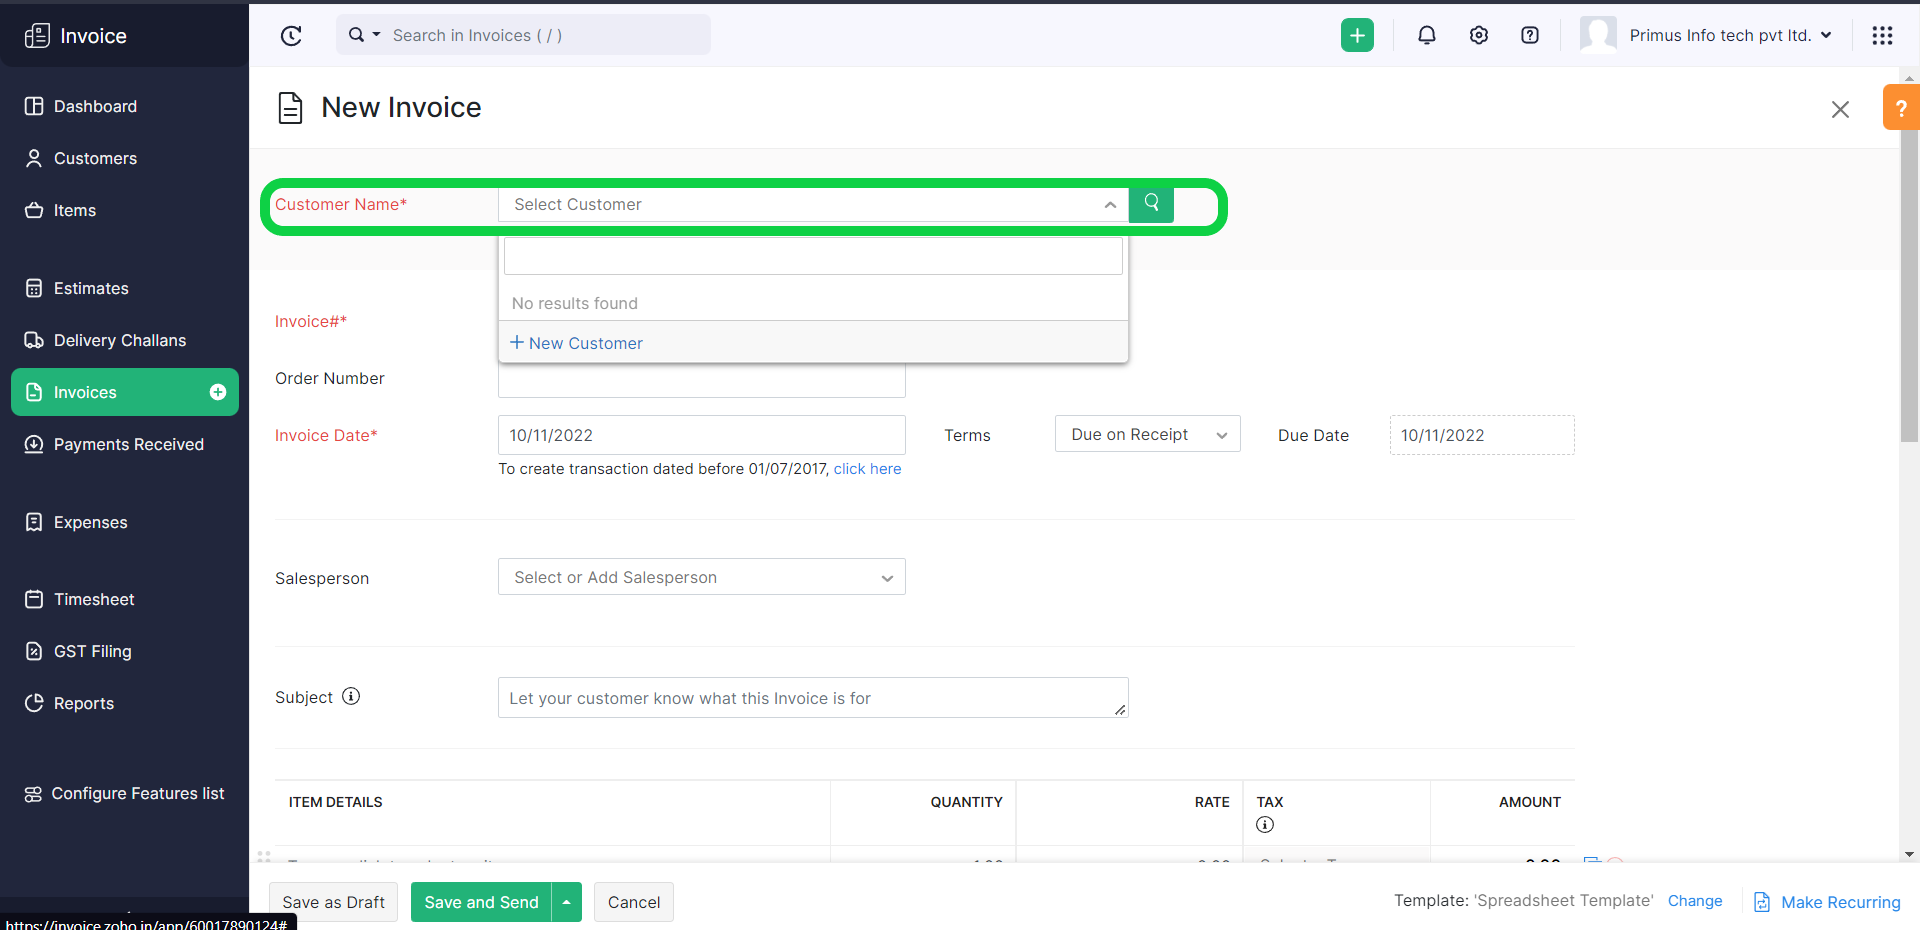 Screenshot 8: Add customer detail
Customer information has been added; see screenshot 9. Add the details of the goods or services you are selling now.
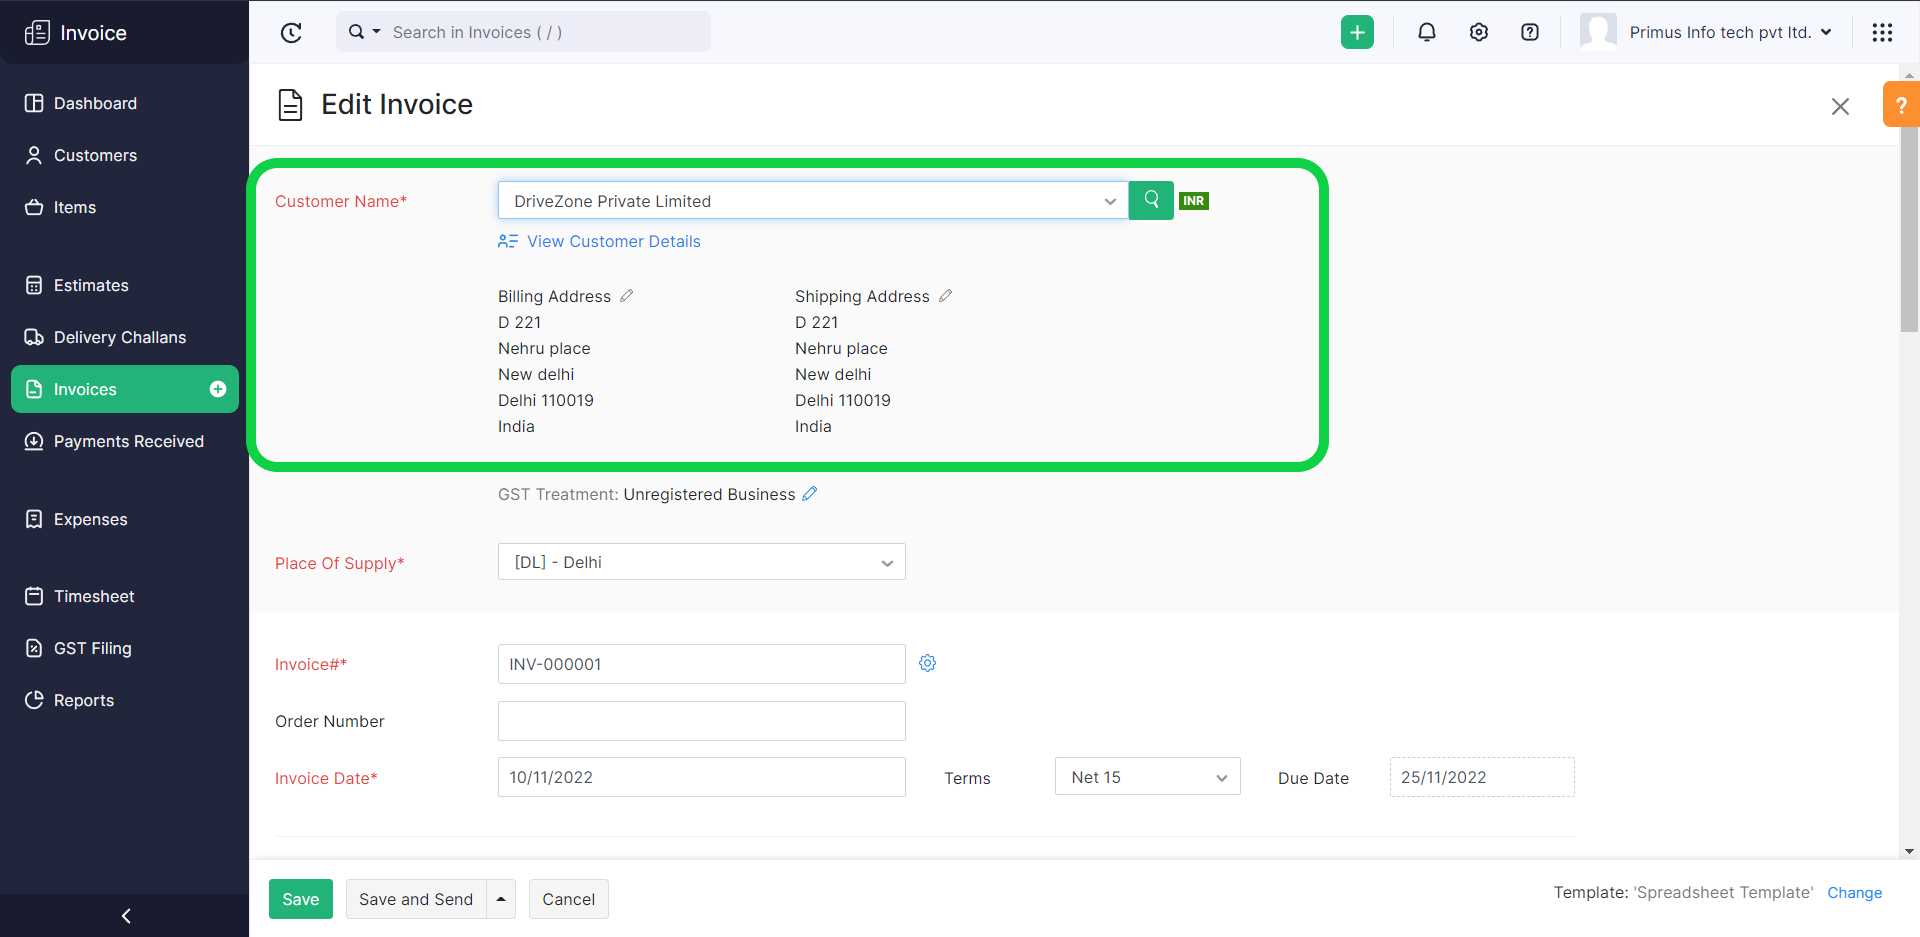 Screenshot 9: Customer added
Create a bill amount from the option to add item details by entering the Service name, quantity, rates, and taxes. The total amount will then be displayed automatically and then save and send the invoice; see screenshot 10.
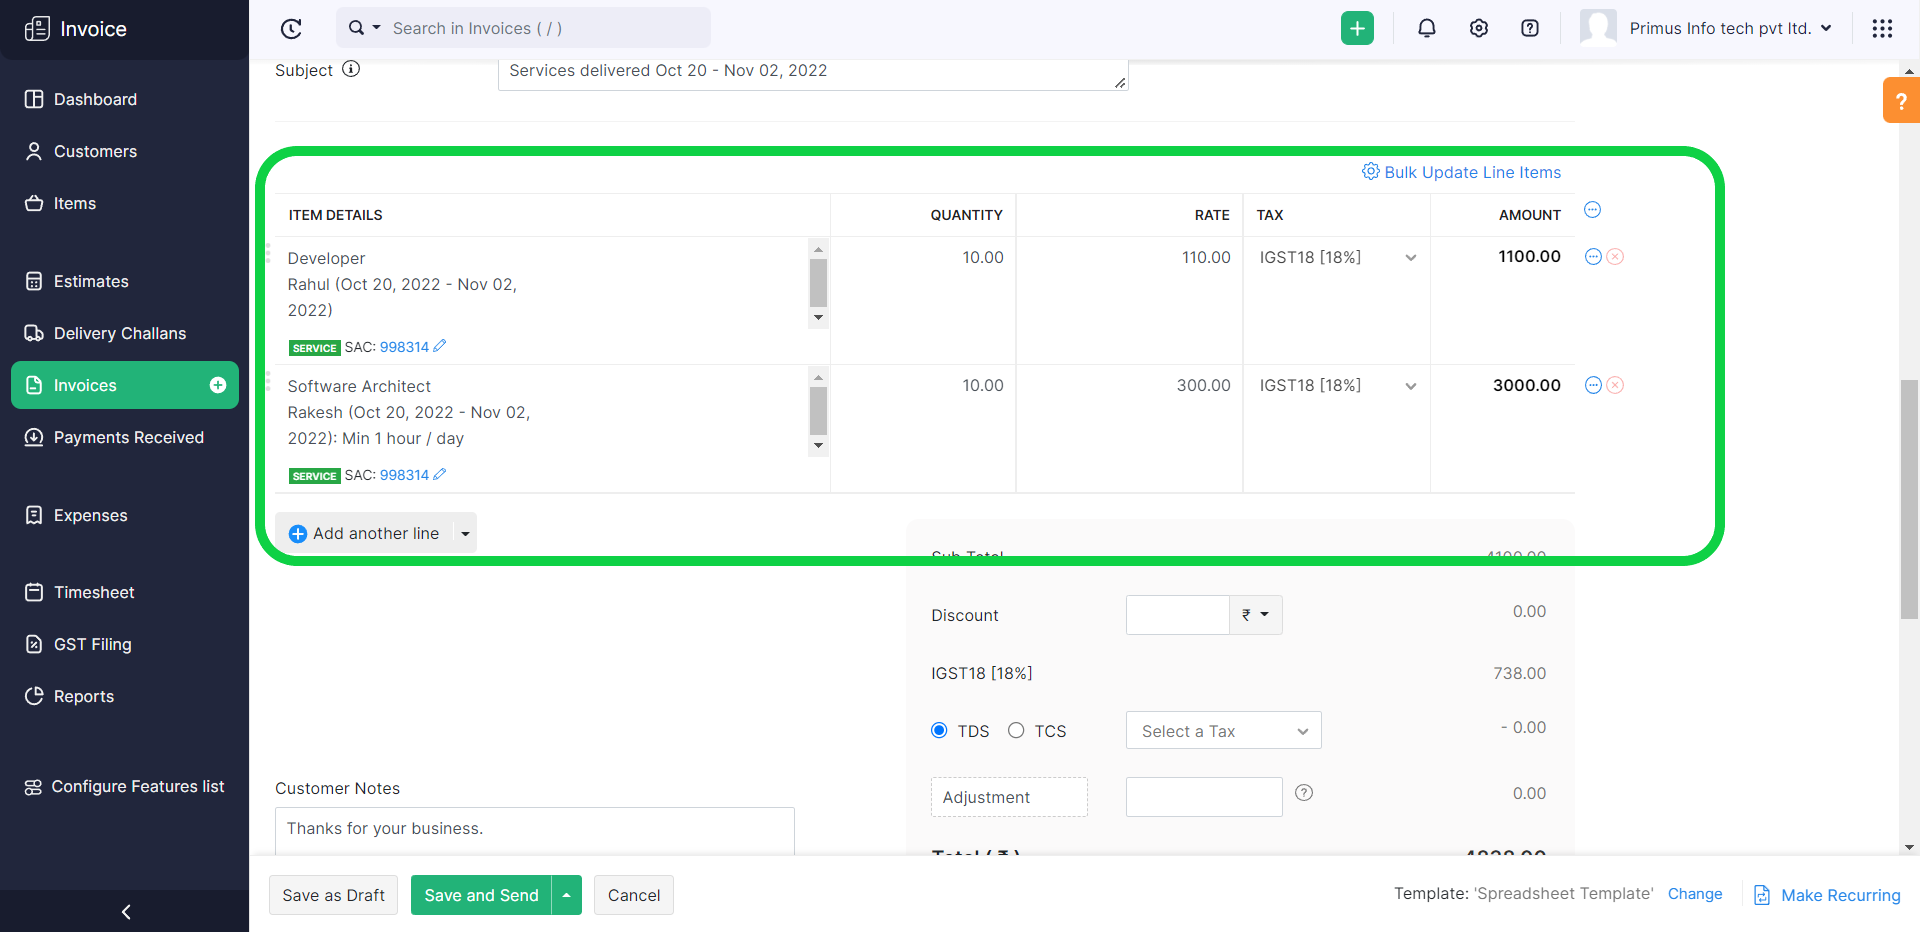 Screenshot 10: Service details
5. Email invoice to client
A new window will open after selecting save and send; enter the client’s email address here, and a proposal will be created immediately like in screenshot 11.
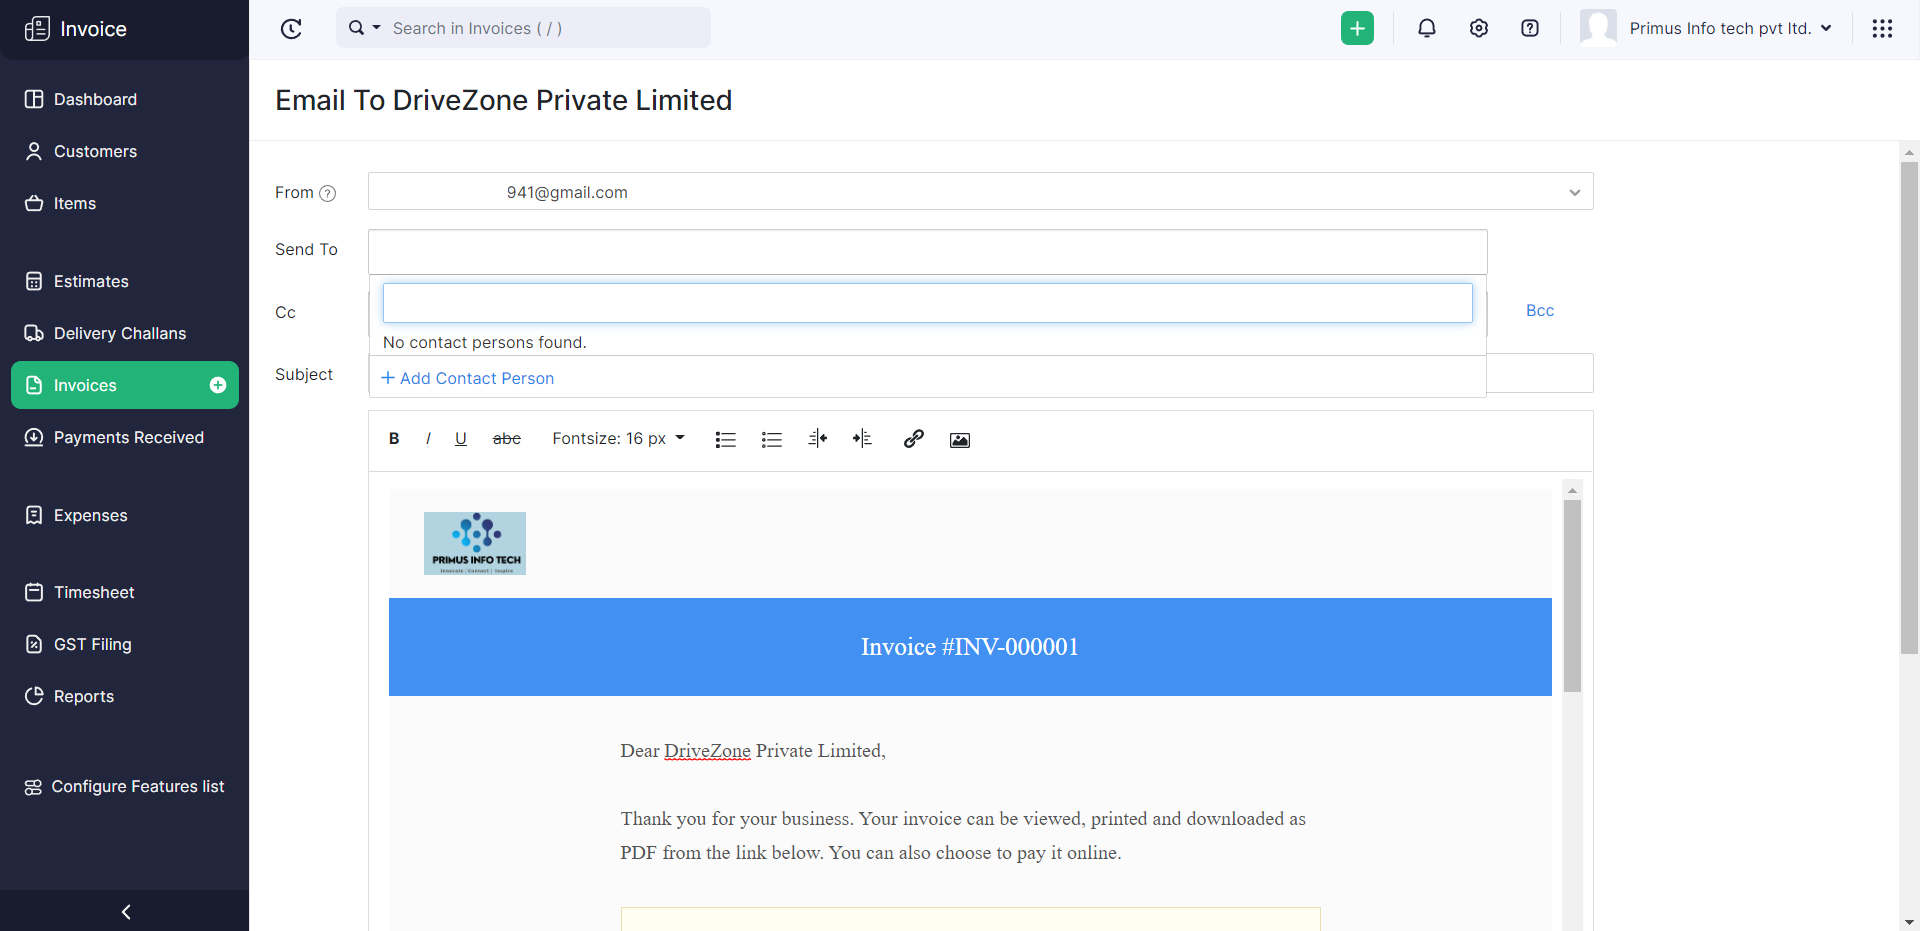 Screenshot 11: Email draft
The email that the customer will receive is depicted in screenshot 12; from this email, the customer can pay through the payment gateway.
The customer can click the view invoice button and then go to the payment window.
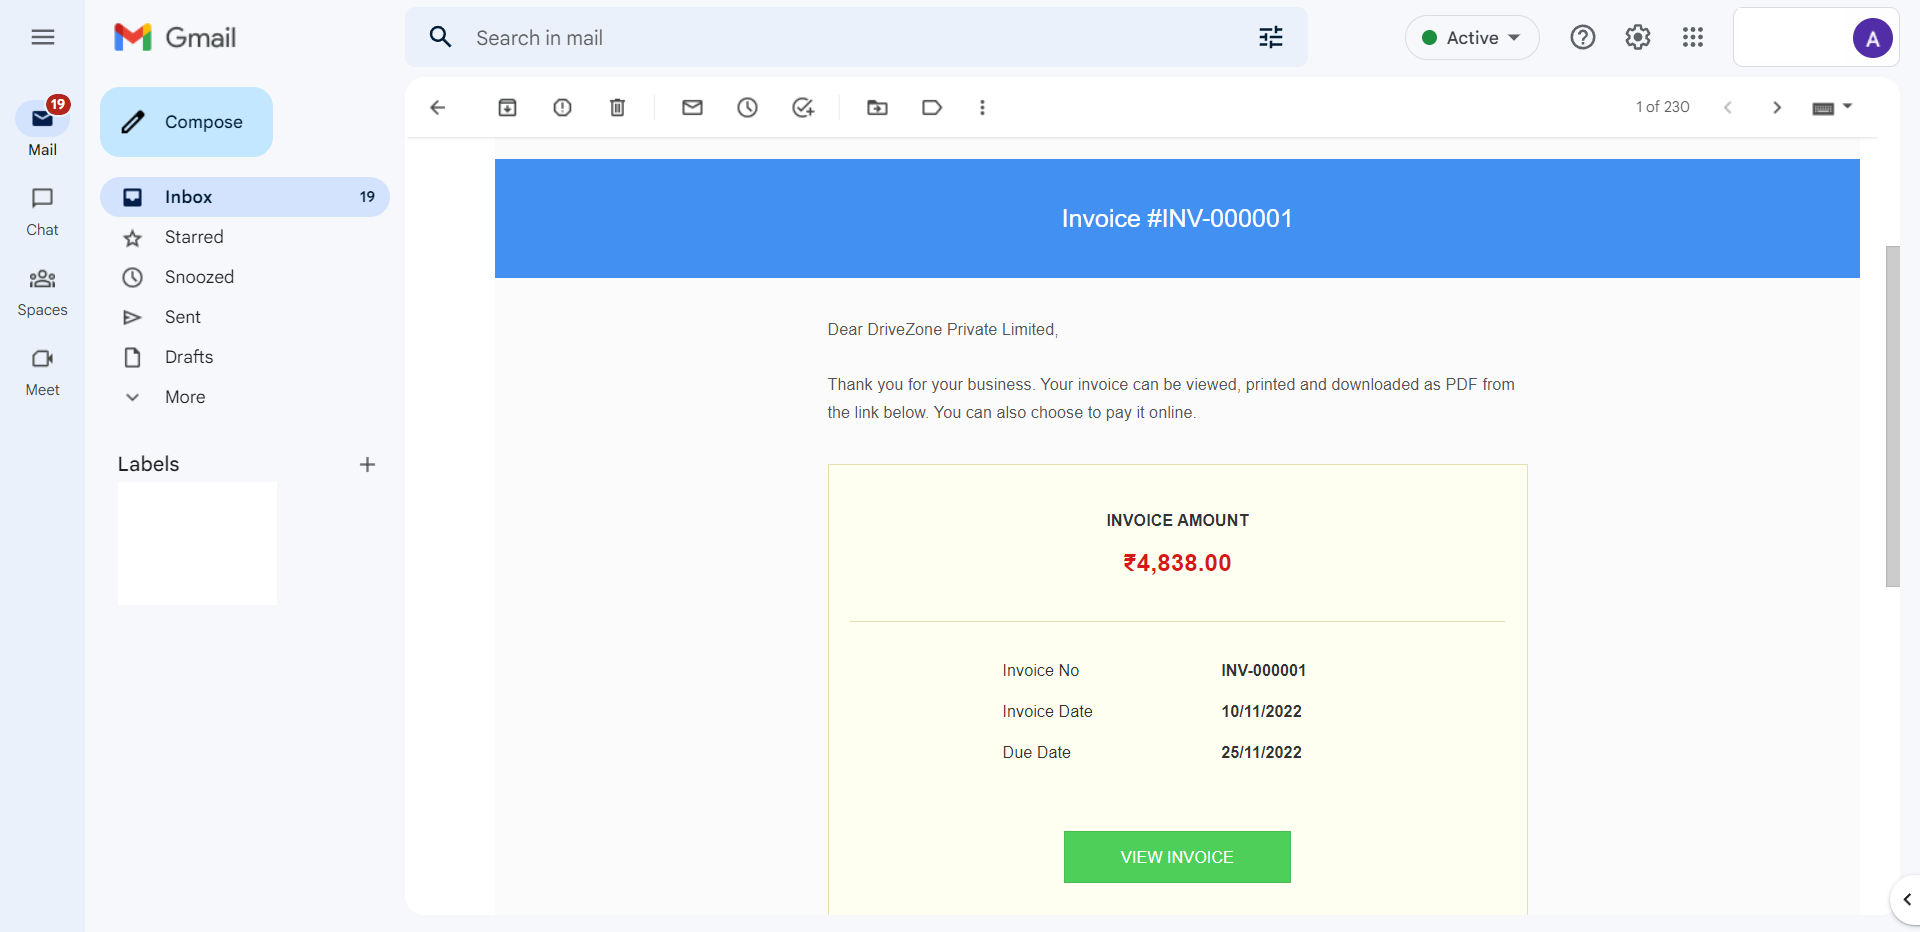 Screenshot 12: Email sent
6. Payment by client
The user can use their credit or debit card to make a purchase here by selecting “Pay Now.”
 Screenshot 13: Pay now tab
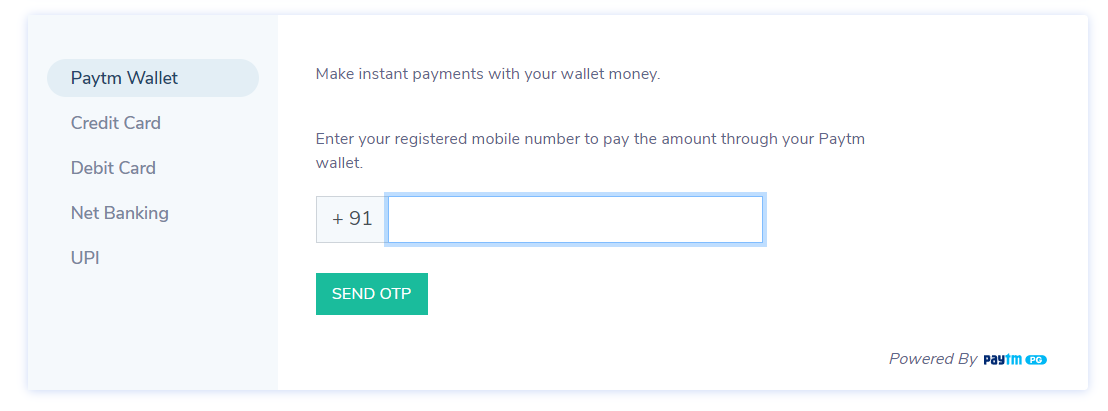 Screenshot 14: Payment options
Therefore, by following the procedures described above, one can easily produce an invoice using Zoho Invoice and send it to the client and accept payments.
Tags:
- #Invoices,
- #Web Apps